

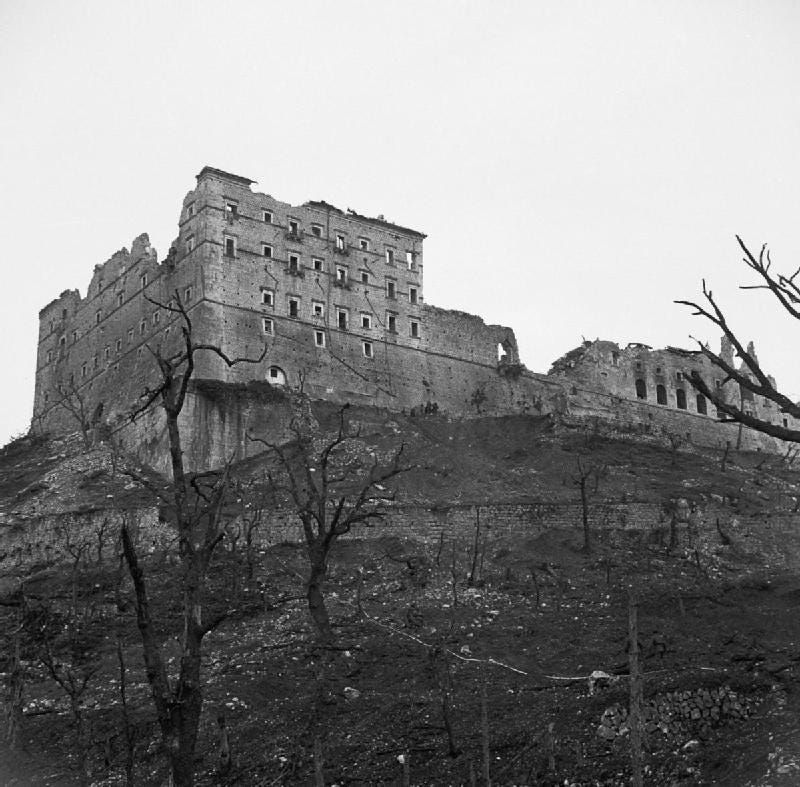
Monte Cassino Abbey after the events described below.
Major General Francis Tuker's relationship with Lieutenant General Bernard Freyberg and his arguments/battle plans before the Second Battle of Monte Cassino slipped under the historical radar. [1] Yet two matters concerning those two generals influenced the course of events. First, the impact of Freyberg and Tuker's contrasting personalities was akin to chalk and cheese. Second, Tuker's poor health reduced his influence on the decision-making process.
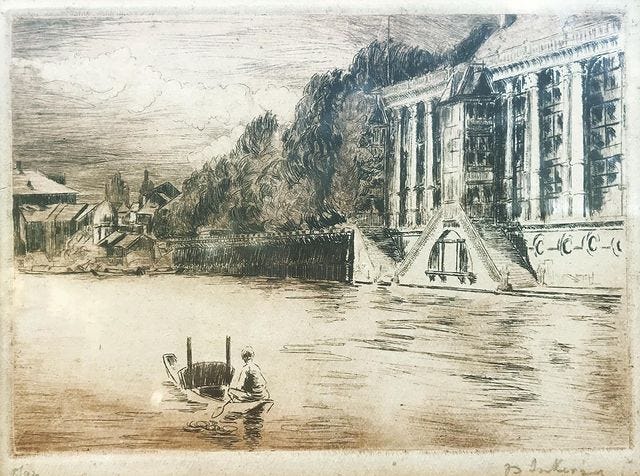
Tuker, the introverted, intellectual, military history student and abstract/artistic thinker [2], didn't suffer fools gladly. Also, he dished out tongue lashings to perceived amateurism among subordinates and superiors. [3]
Although this author queries the impact of Tuker challenging the pre-war Indian Army establishment: His submissions to military journals covered combined arms/tanks and infantry battlefield cooperation. But his failure to "tow the line" with existing ideas ensured his articles never made publication. [4] So, how much of Tuker's character was shaped by personality and his career roadblocks is this author's query.
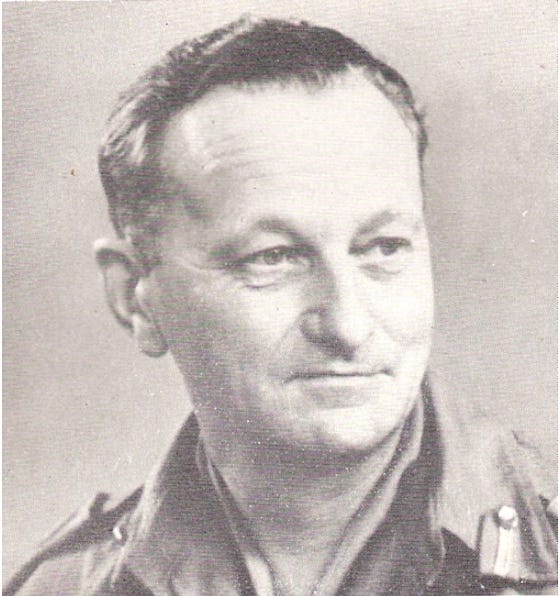
Major General Francis Tuker.
Before shifting to Monte Cassino, Freyberg and Tuker's wartime commands warrant a brief examination.
Freyberg was brawn over brains but with the Mana of a Victoria Cross recipient. Apart from his WW1 service, his outgoing and Kiwi manner endeared him to the New Zealand Division's soldiers. So, his incredibly courageous battlefield leadership didn't translate to effective generalship.
Freyberg's lousy communication skills left subordinates out of the picture, and they determined his intent over phone calls. [5]
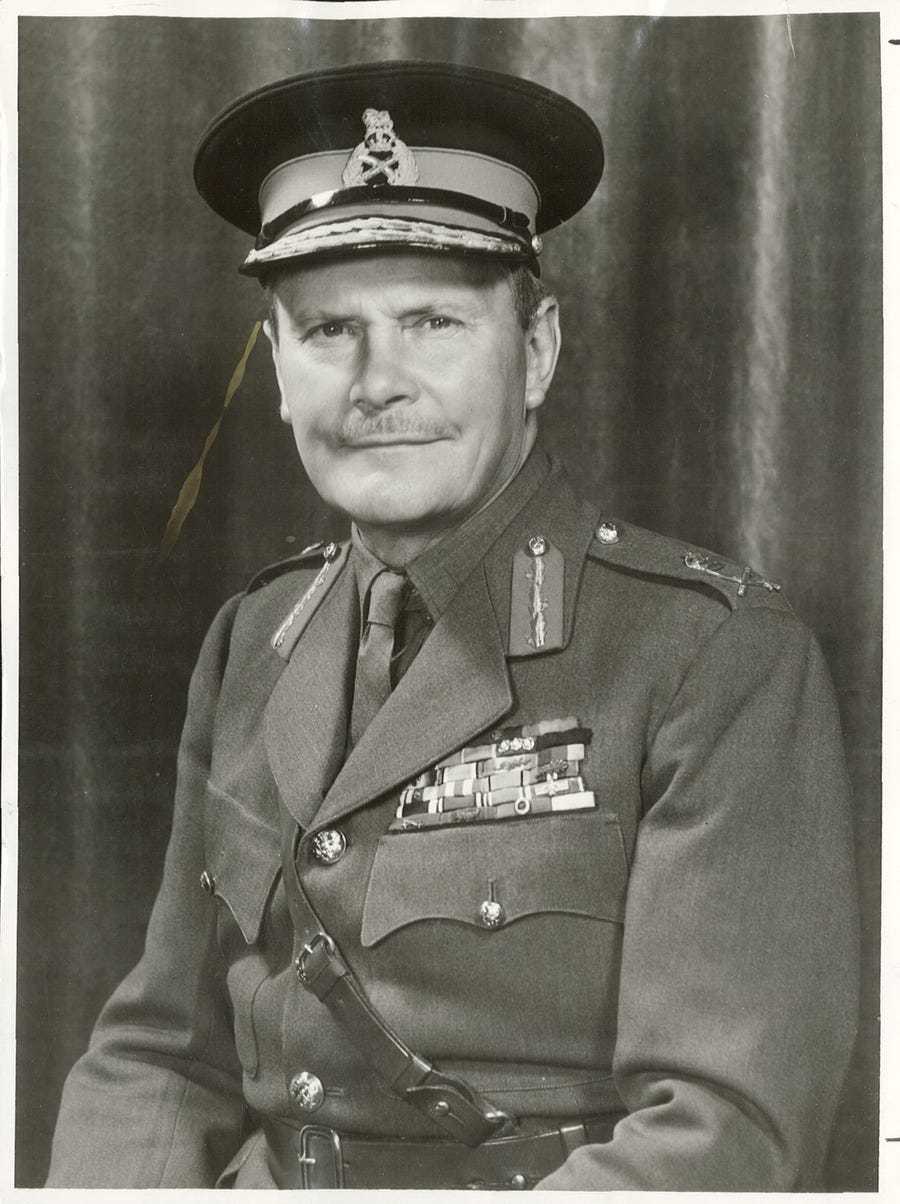
Lieutenant-General Bernard Freyberg.
In February 1944, Freyberg became the newly created New Zealand Corps commander. The New Zealand Corps consists of the New Zealand and 4th Indian Divisions. [6] * Although Freyberg's command operated without the additional Corp's staff officers. Yet that was an additional handicap to Freyberg's poor planning. [7]
Tuker assumed command of the 4th Indian Division in December 1941. [8] He moulded his division around combined arms and battlefield mobility. But Tuker also swept out incompetent subordinate officers from his path. Nor did he leave any doubt with those concerned about implementing his vision. [9] Yet did Tuker outshine his British Army contemporaries, or did he resemble that character trait?
Unfortunately, the strategic circumstances behind the Battle of Crete (1941) fall beyond the scope of this article. Yet the same applies to Freyberg's dealing with the dysfunctional CREFORCE command structure. But Freyberg's command of CREFORCE and unsuccessful defence of that island warrants two points.
First, he was severely let down by brigade-level subordinates' "battlefield awareness." * [10] Second, he should have stressed the importance of crucial terrain to immediate subordinates. [11] Unravelling that observation and criticism is for another discussion, but the presence of mitigating factors is noteworthy.
Returning to the winter of 1944, Freyberg is crafting the next attempt to break the stalemate in Italy. Tuker strongly advocated for a right hook to cut off the German defenders in and around Monte Cassino. Initially, Freyberg supported Tuker's plan with the addition of French troops. Also, that plan's potential pitfall was logistical resupply strains caused by reinforcing the attackers. [12]
Unfortunately, Tuker was sidelined from Freyberg and the operational planning process by a flare-up of rheumatoid arthritis. [12] Yet, in Tuker's absence, Freyberg promptly abandoned Tuker's concept in favour of a direct assault against Monte Cassino. [13] Moreover, the hospitalised Tuker's written correspondence to his Kiwi superior focused on that new plan, with his sensible original concept coming second. [14] *
Moreover, the planning for Tuker's right hook didn't advance far enough to address logistical issues. But that matter was solvable by restructuring the attacking force or by employing the existing plan and accepting a calculated risk. That is why this author rules out Freyberg's dismissal of that indirect approach on a logistical basis.
Did Tuker fail to sell his ideas to Freyberg before he was benched? Since historical criticism is directed at Freyberg, that question warrants attention. Moreover, this situation is where Tuker's character worked for and against him; he likely cajoled Freyberg into agreeing with his thinking.
Also, Tuker's disregard for his superior's reputation permitted frank dealings with Freyberg. Moreover, Tuker's replacement Brigadier Harry Kenneth Dimoline, even temperament, wasn't a match for Freyberg's Mana. Otherwise, Dimoline, with his artillery and Territorial Army background, was a competent fill-in. [15]
But Tuker's lack of tack and intolerance for Johnny-come-latelies is his Achilles' heel. He convinced Freyberg to adopt his plan but without conveying the merits/reasoning behind his intent. Tuker intended to employ the New Zealand corps to encircle the defenders, seek breakthroughs in the enemy lines elsewhere, and force the Germans to withdraw from Monte Cassino. [16] So Freyberg dumped Tuker's plan in the rubbish and was simultaneously rid of an abrasive college.
Why did Freyberg display lousy operational artistry as the New Zealand Corps Commander?
Unlike the circumstances surrounding the Fall of Create, his foolish decision to attack the enemy's strongest points reflects his limited intellect. Moreover, without Tuker's backbone, Freyberg is out of his depth as the New Zealand Corps commander.
References
[1]
Previously, this author covered Lieutenant General Francis Tuker's manoeuvrer warfare study.
[2]
A sample of Tuker's artworks:
Al Murray Command: How the Allies Learned to Win the Second World War (Headline Publishing Group 2022) Page 72
[3]
David Hapgood and David Richardson Monte Cassino: At last, the full story behind one of World War 2's most disputed events – the day American Bombers destroyed the great abbey. (Congdon & Weed Inc, 1985) Page 151
[4]
Lieutenant General Francis Tuker The Pattern of War (PDF Download) (London: Cassell and Co LTD, 1948), Pages14 -15
(The page numbers for Tuker's The Pattern of War correspond to the PDF version).
Al Murray Command: How the Allies Learned to Win the Second World War (Headline Publishing Group 2022) Page 73
Ibid
[5]
More on Mana
https://nzhistory.govt.nz/culture/frontier-of-chaos/maori-values
Also see:
David Hapgood and David Richardson Monte Cassino: At last, the full story behind one of World War 2's most disputed events – the day American Bombers destroyed the great abbey. (Congdon & Weed Inc, 1985) Pages 148 – 50
[6]
Ibid P150
*
Also, General Harold Alexander's reasons for appointing Freyberg fall beyond the scope of this article. However, Freyberg's Mana increases as the New Zealand Division commander/his country's contribution to allied ground forces. Freyberg's Mana ensured he was appointed New Zealand Corps commander over the more qualified Tuker.
[7]
Peter Caddick-Adams Monte Cassino: Ten Armies in Hell (The Random House Group Limited, 2012) Page 158
[8]
Ibid P129
[9]
Al Murray Command: How the Allies Learned to Win the Second World War (Headline Publishing Group 2022) Page 72
*
For our purposes, "battlefield awareness" covers the execution of orders or pre-existing plans from Freyberg and a general understanding of those situations.
[10]
James C. Bliss, Maj, New Zealand Army The fall of Crete 1941: was Freyberg culpable? ( PDF download) ( BAL, University of New England, Armidale, NSW, Australia, 2002)
[11]
Al Murray Command: How the Allies Learned to Win the Second World War (Headline Publishing Group 2022) Page 65- 66
[12]
David Hapgood and David Richardson Monte Cassino: At last, the full story behind one of World War 2's most disputed events – the day American Bombers destroyed the great abbey. (Congdon & Weed Inc, 1985) Page 152
[13]
https://www.griffonmerlin.com/2008/08/05/general-francis-tuker-and-the-bombing-of-monte-cassino/
[14]
David Hapgood and David Richardson Monte Cassino: At last, the full story behind one of World War 2's most disputed events – the day American Bombers destroyed the great abbey. (Congdon & Weed Inc, 1985) Pages 154 – 55
*
The eventual bombing of the Monte Cassino Abbey occurred after the events detailed in this article. But Tuker's letters to Freyberg are a part of the events leading up to that fateful aerial bombing.
[15]
Ibid P153
Peter Caddick-Adams Monte Cassino: Ten Armies in Hell (The Random House Group Limited, 2012) Page 134
[16]
Ibid P135
Inspired by this article, I pulled a piece written by Tuker out of archives and posted it on the front page of The Tactical Notebook.
https://tacticalnotebook.substack.com/p/tuker-on-tactics
1. That’s a good drawing - clearly he was a skilled artist.
2. I don’t think an indirect maneuver would have been sufficient, due to limits of scale imposed by the terrain. Looking at a map, I don’t think you can sufficiently isolate the garrison without controlling the main valley.